


Barnard's Ghostly Galaxy - Fossil of the Ancient Universe
A Deep Dive into Our Summer DSO Challenge Target #9 - C57, with Post-Processing Tips, Tricks, and a DATACLUB Data Drop

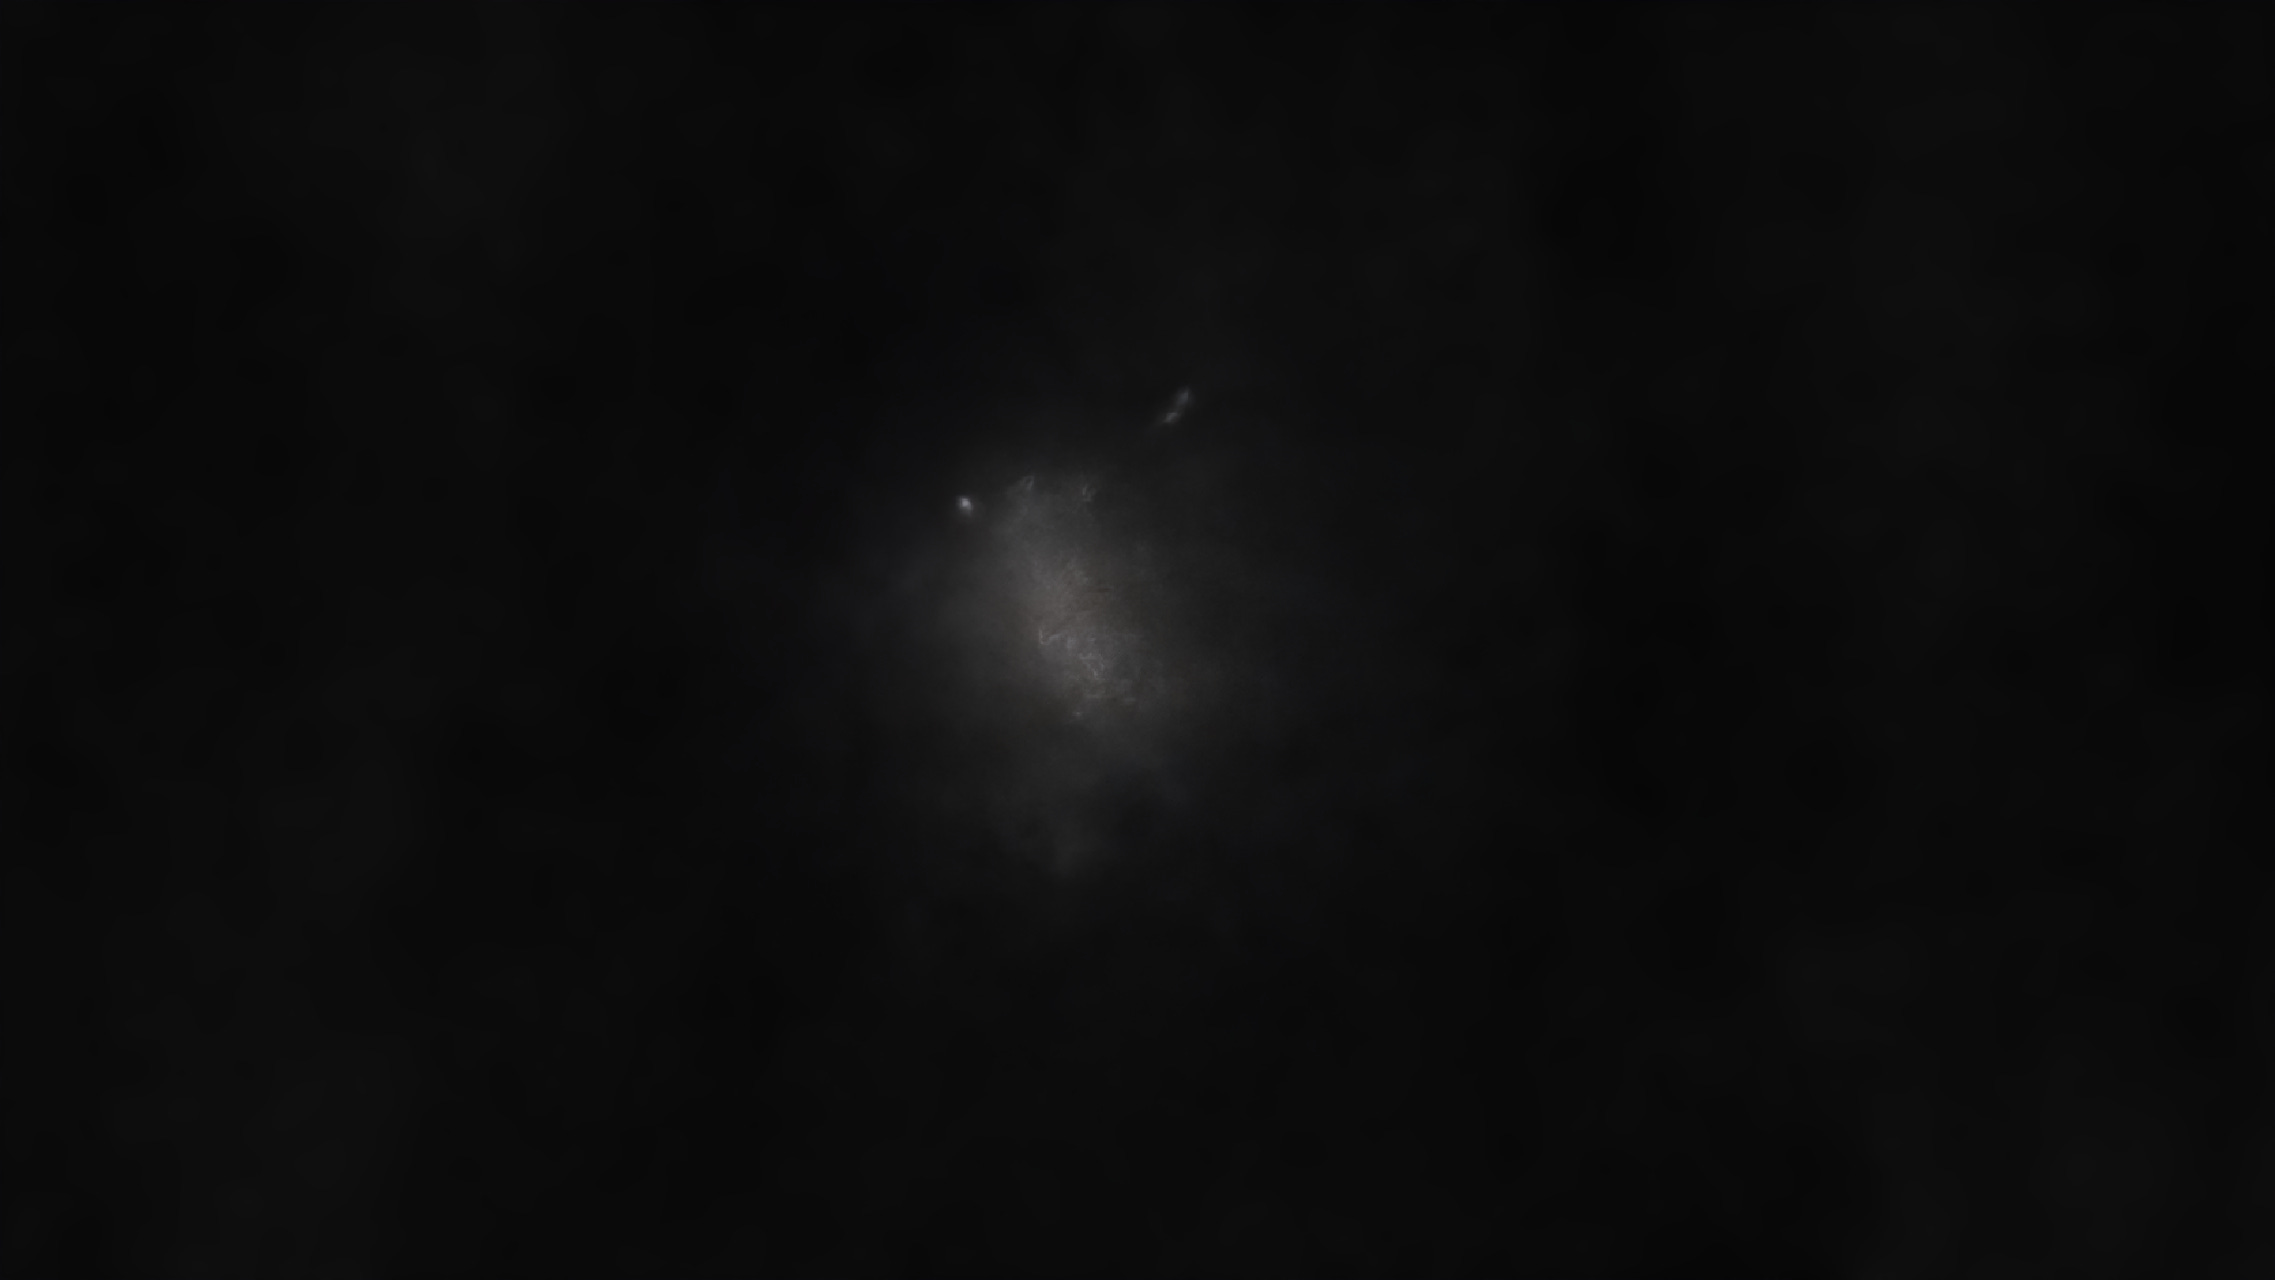
Let's dive into one of the more phantom-like deep sky objects: the elusive Barnard's Galaxy (NGC 6822). This one is a good test of skill for any astrophotographer, a faint ghost lurking in the star-packed fields of Sagittarius. But the reward? Capturing a piece of cosmic history!
Revealing the hidden beauty of Caldwell 57, a relic of the distant past
There's a unique rush in pulling a target like this from the noise. From my D3 multi-night capture, my mission was to tackle this faint, distant object and prove that modern smart scopes have the power to resolve stars outside our galaxy. At 1.6 million light-years away, NGC 6822 is one of our closest galactic neighbours, but it doesn't give up its secrets easily. This object is famous in astronomy circles: it was the very first galaxy that Edwin Hubble proved was a separate "island universe" far beyond our own Milky Way, forever changing our understanding of the cosmos.
The Science Deep Dive: Why This Ghost Matters
Recent missions by the James Webb and Euclid telescopes have shed fresh light on this ancient galaxy. Why the fuss? Barnard's Galaxy is a "low-metallicity" galaxy, meaning it's made of almost pure, primordial gas from the dawn of time. It's a living fossil, a blueprint for the very first galaxies that ever formed.
The JWST's infrared eyes are piercing through this galaxy's dust clouds, providing us with an unprecedented view of how stars are born under these ancient conditions. Meanwhile, the Euclid telescope is mapping the entire galaxy and its ancient star clusters, providing us with the fossil record of how it was all assembled. When you capture NGC 6822, you're not just taking a pretty picture—you're imaging a direct link to the dawn of the universe.

From Data to Dazzling: My Post-Processing Workflow
The journey from raw data to the final image is where the real battle is won. The initial stack can be a very “noisy” image. In this case, we're viewing it through dense Milky Way stars and even IFL Interstellar Flux Nebulosity, obscuring the galaxy with so much “foreground” Milky Way “stuff”!
SIRIL Stacking and Lite Processing
My goal was to cut through the noise and reveal the data hidden behind it. First, in SIRIL, I ran aggressive background extraction to neutralize the sky glow. Once the image was clean, the key was a careful, iterative stretch of the data. This is how you reveal the galaxy's faint structure without burning out the core or the brighter stars.
Separating foreground (Milky Way) and background (galaxy)
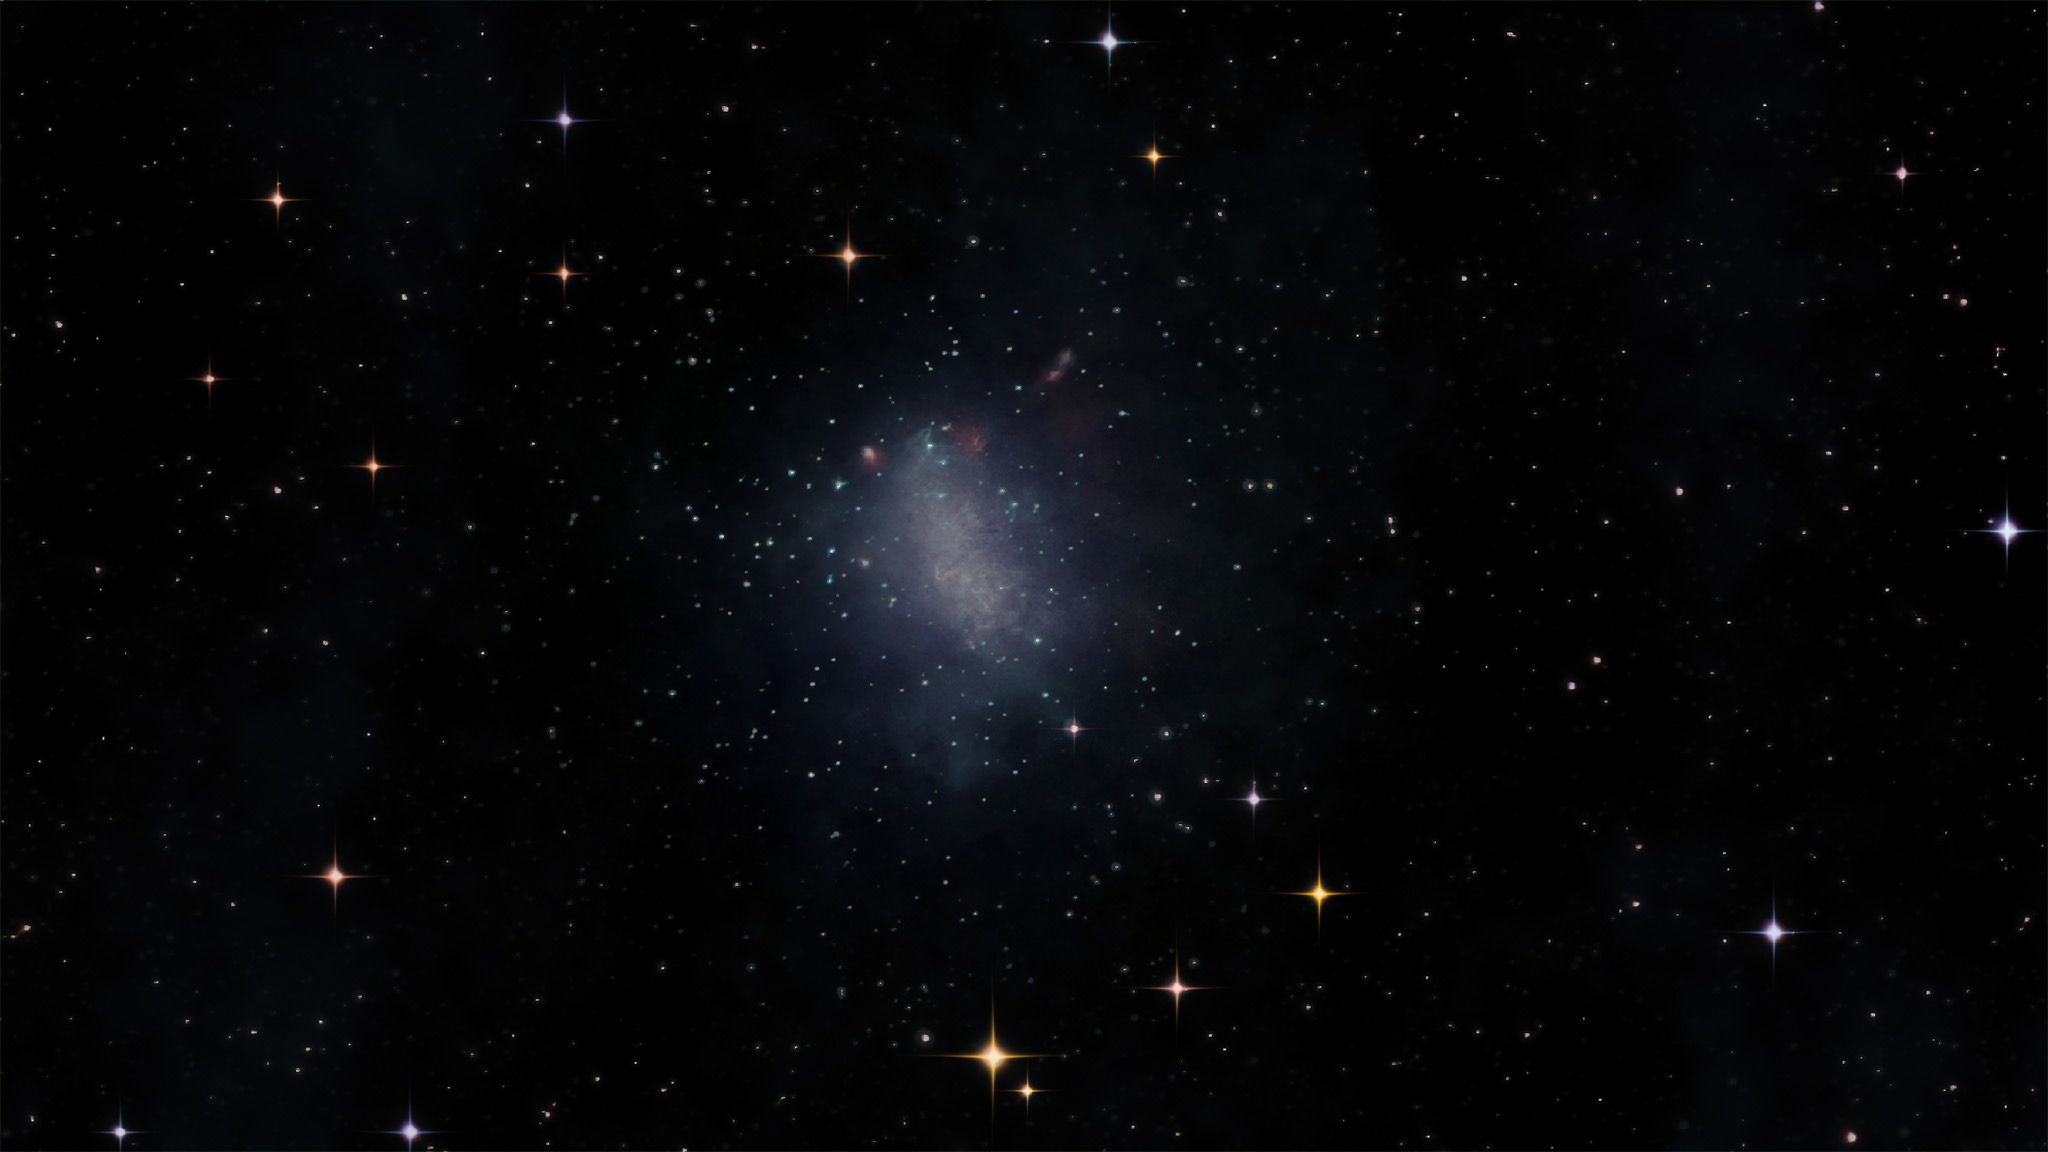
This is where a critical pro-level technique comes in: separating the target from the stars. Before any significant stretching, I used RC Astro’s powerful StarXterminator, NoiseXterminator, and Topaz DeNoise plugins in Photoshop. This is the key to isolating the different layers of light. It allowed me to create two distinct images: one containing only the faint, unresolved glow of Barnard's Galaxy, and another containing only the stars (of the galaxy and our Milky Way). This separation is crucial because it lets you process each element independently. I could aggressively bring out the detail in the galaxy's glow without blowing out the stars. It also helps to differentiate the pinpoint stars of the distant galaxy from the brighter, closer stars of our own Milky Way. Once the galaxy's glow was perfected, I carefully layered its own resolved stars back on top, using curves to control their brightness and sharpness, ensuring they looked like they belonged to the distant galaxy and didn't overwhelm the beautiful, faint details I had worked so hard to reveal.
Post Processing in Photoshop
With the separate layers ready, it was time for the final assembly in Photoshop—this is where the art comes to life. Looking at my layer stack, you can see I started with the 'No Stars Galaxy' layer and carefully blended the 'Galaxy Stars' back in. From there, it was all about building up the color and contrast using a series of adjustment layers: Hue/Saturation, Vibrance, Color Balance, and a final Curves adjustment to get the levels just right. This layer-based approach gives you incredible control to perfect the image. A final, tack-sharp sharpening pass brought the details to life. The result is a stunning celestial portrait: the faint, collective glow of Barnard's unresolved stars, punctuated by its own brighter, resolved stars, all shining through the foreground of our Milky Way.

Mission Accomplished!
This process, from a challenging target in the night sky to a stunning shot with faint details of the galaxy shining through, reveals subtle color details in the emission and reflection nebulosity. This is what modern astrophotography is all about. It's a journey that connects backyard passion with cutting-edge science, revealing the profound beauty hidden in the dark.
Ready to Try This Yourself? Join the DATA CLUB!
I hope these tips inspire you to tackle this amazing target!
If you want to skip the data acquisition and jump right into processing, the best way to learn is by working with our high-quality data. By becoming a paying subscriber, you'll join the DwarfVision DATA CLUB and get immediate access to all the files from this project, including the raw stacks and my full Photoshop project file.
You'll find the download links right below the paywall.
Keep reading with a 7-day free trial
Subscribe to DwarfVision to keep reading this post and get 7 days of free access to the full post archives.