

DATACLUB: Mosaic Magic - Framing the Flaming Star, Tadpoles, Spider, & a Fly, in One Epic Shot
Combine 4K shots of the D3 with the DWARF mini's detail precision for a seamless deep-sky panoramic masterpiece

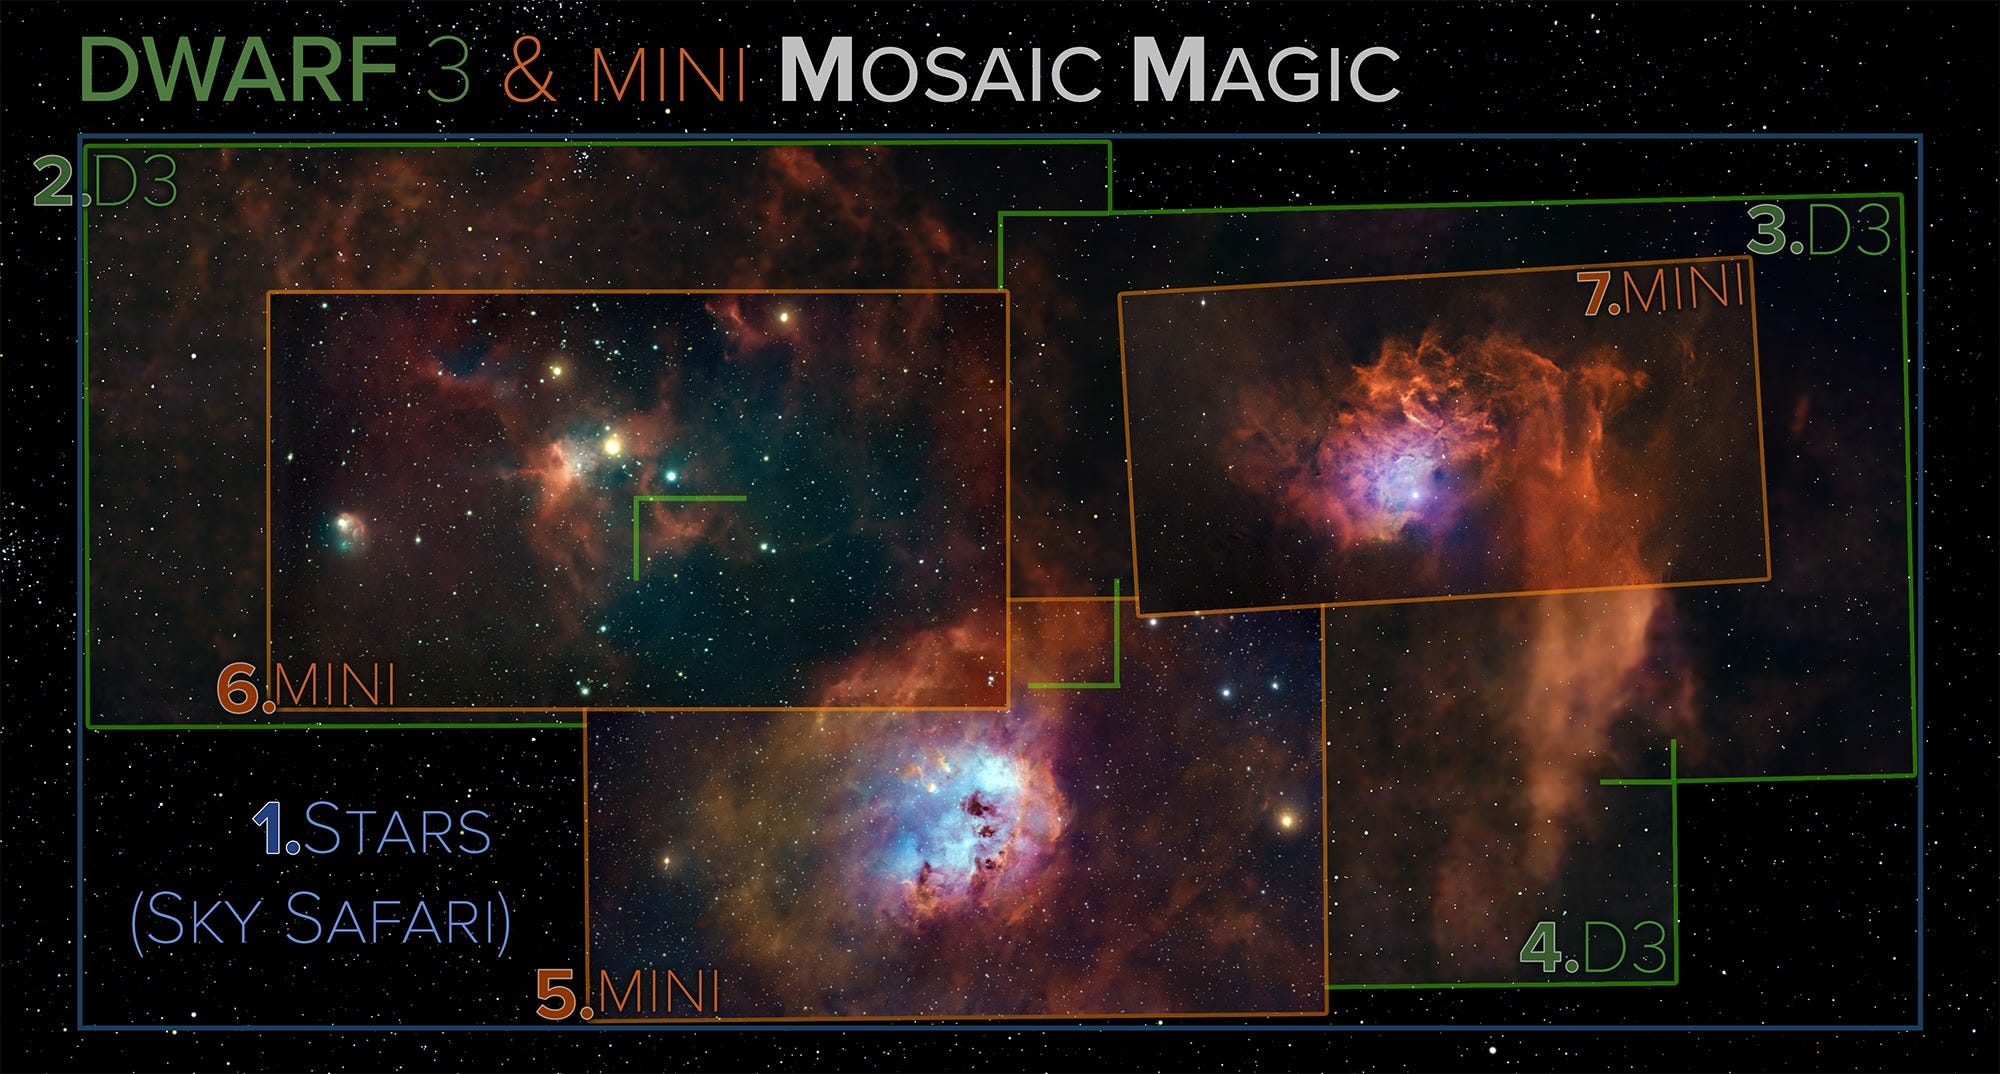
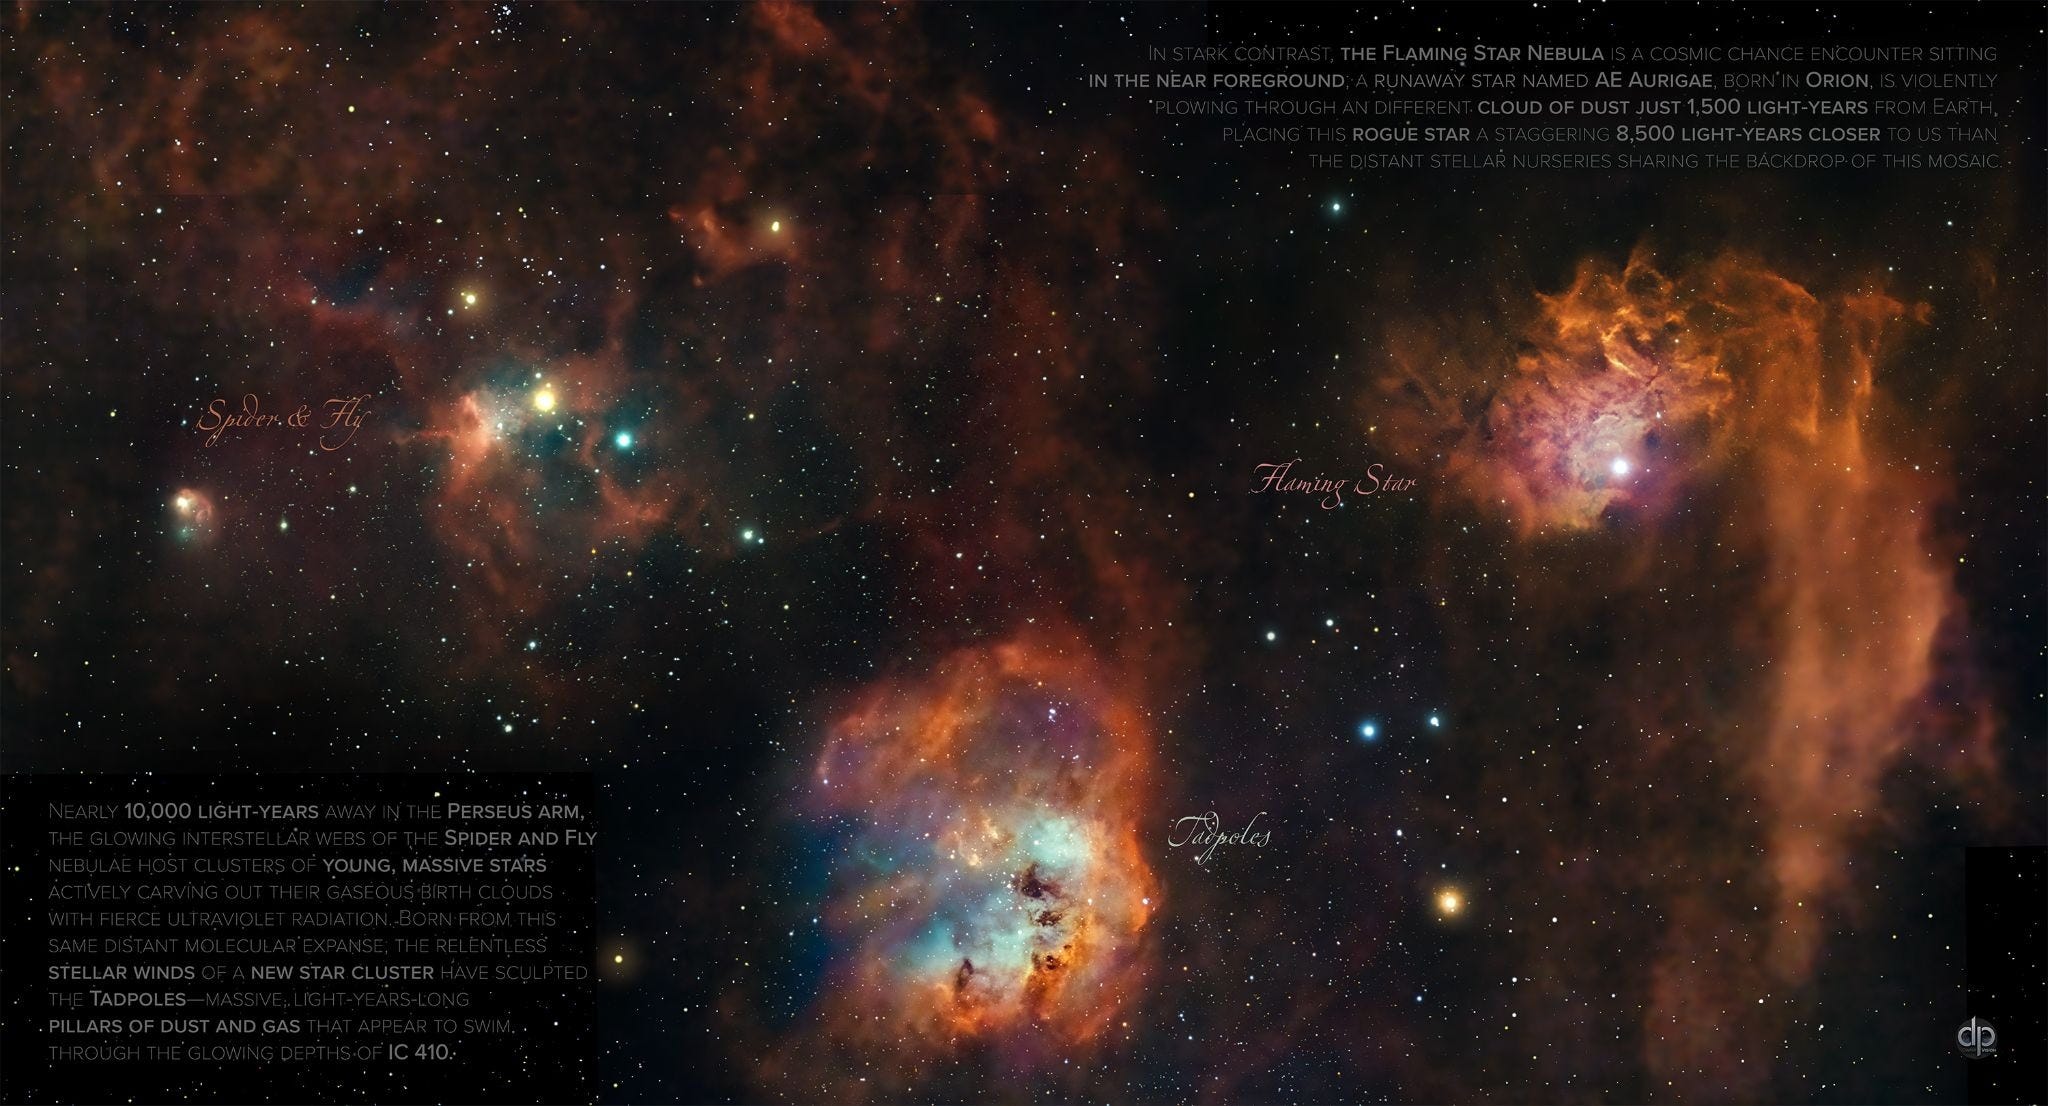
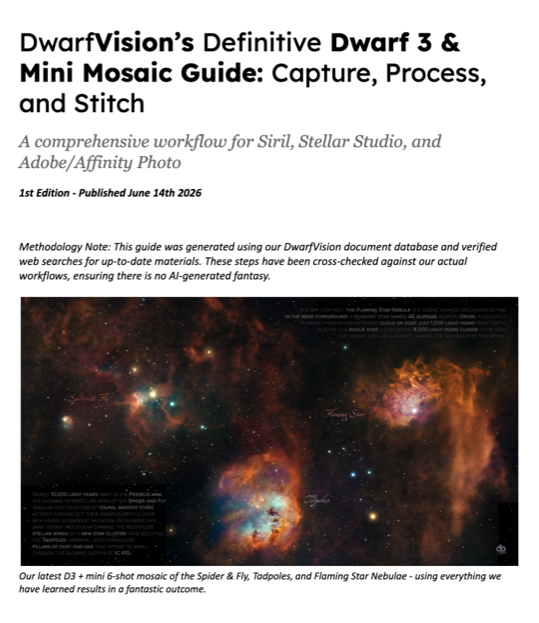
Nearly 10,000 light-years away in the Perseus arm, the glowing interstellar webs of the “Spider & Fly” nebulae share a massive molecular cloud with the “Tadpoles”. Just to the right and eight times closer to Earth is another nebula formed by a star on a runaway course, the stunning “Flaming Star” Nebula.
This week, we explore how to turn these perfectly placed gems into a stunning mosaic shot. For the CREW, download our detailed step-by-step mosaic guide and the Ready-To-Use Tiffs, PSDs & if you want it, all the data too! Get instant access with a paid subscription - A ONE-YEAR subscription is now 20% Off!
The Spider and the Fly: A Chaotic Stellar Nursery
Before we kick off the mosaic, let’s explore these stunning Winter & Spring nebulae through the eye of the DWARF mini. Sitting at 10K LY out…
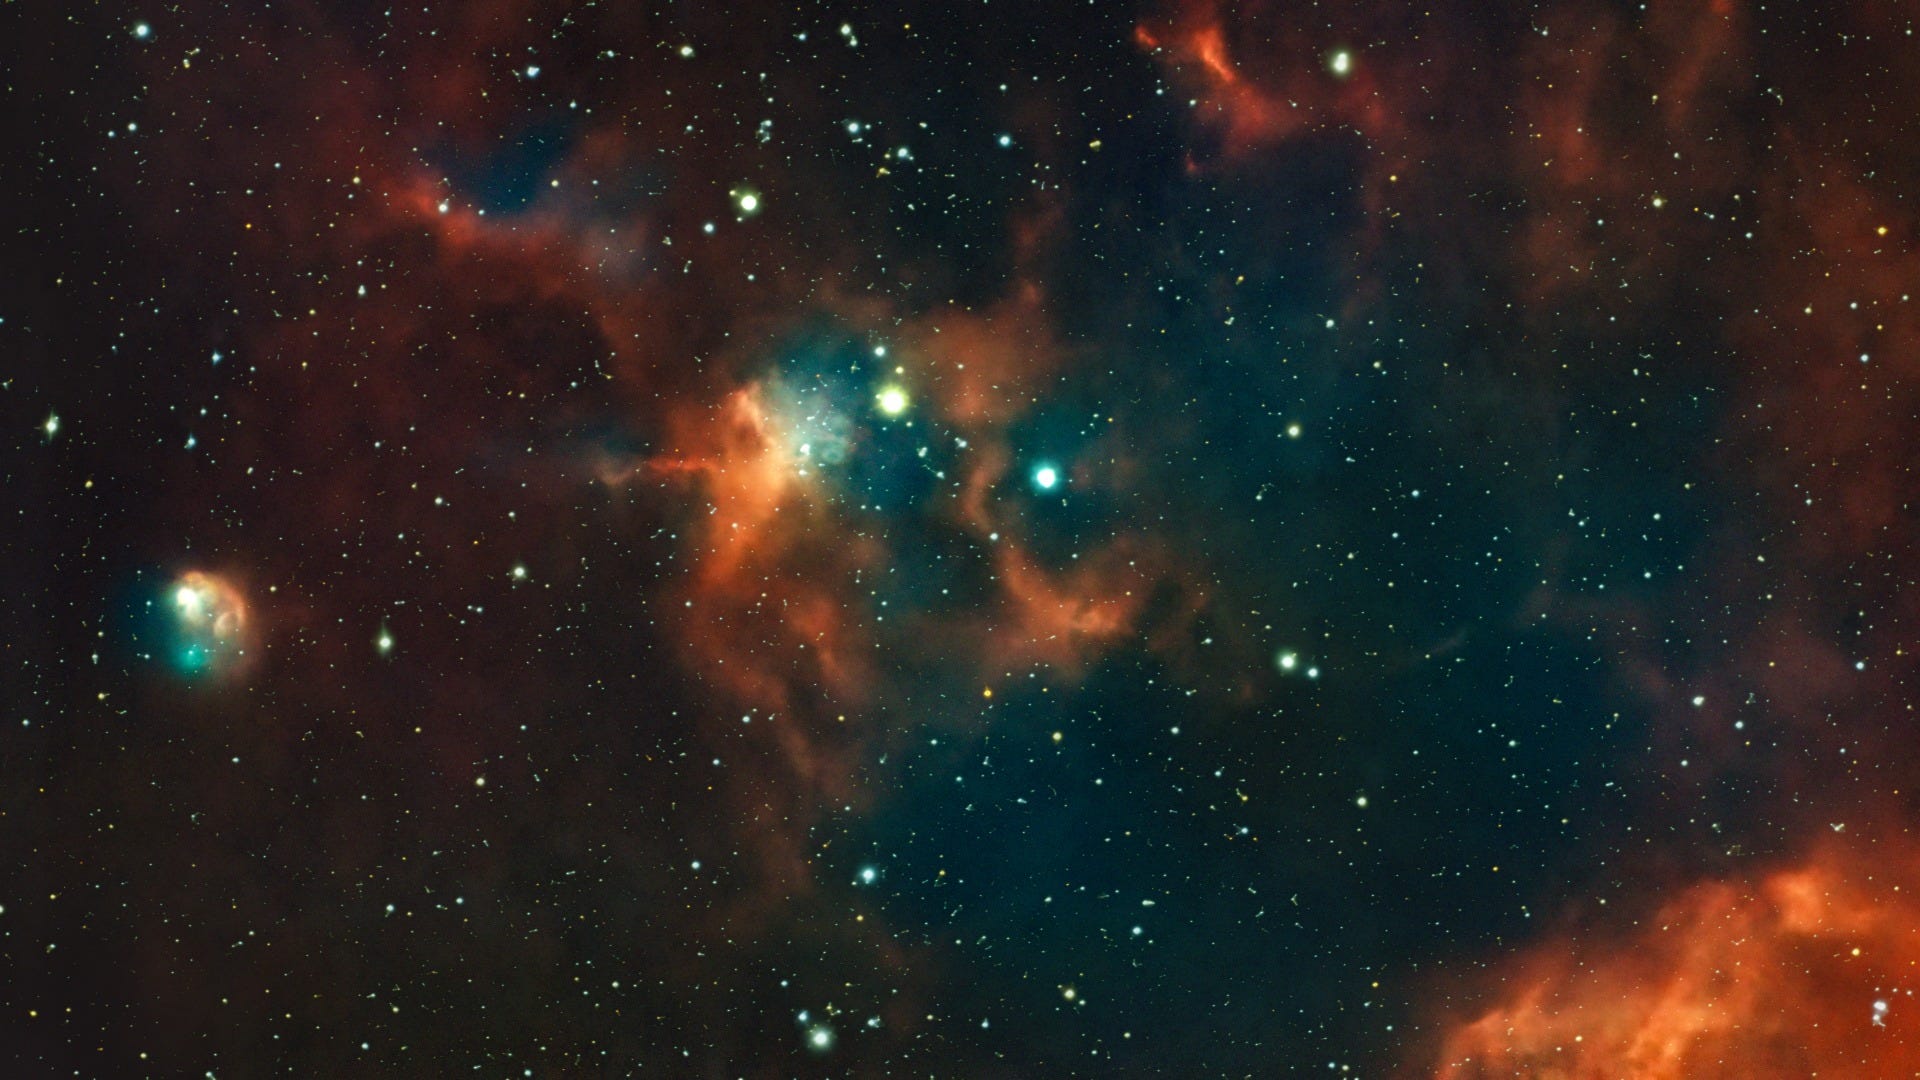
The Central Spider (IC 417) and the miniature, bubble-like Fly (NGC 1931) at left represent a younger, more chaotic phase of stellar birth in this area of central Auriga (the Charioteer). Here, newly ignited infant stars are still deeply embedded, actively illuminating and spinning within the thick, web-like clouds of their own creation.
The Tadpoles of IC 410: Sculpted by Cosmic Winds
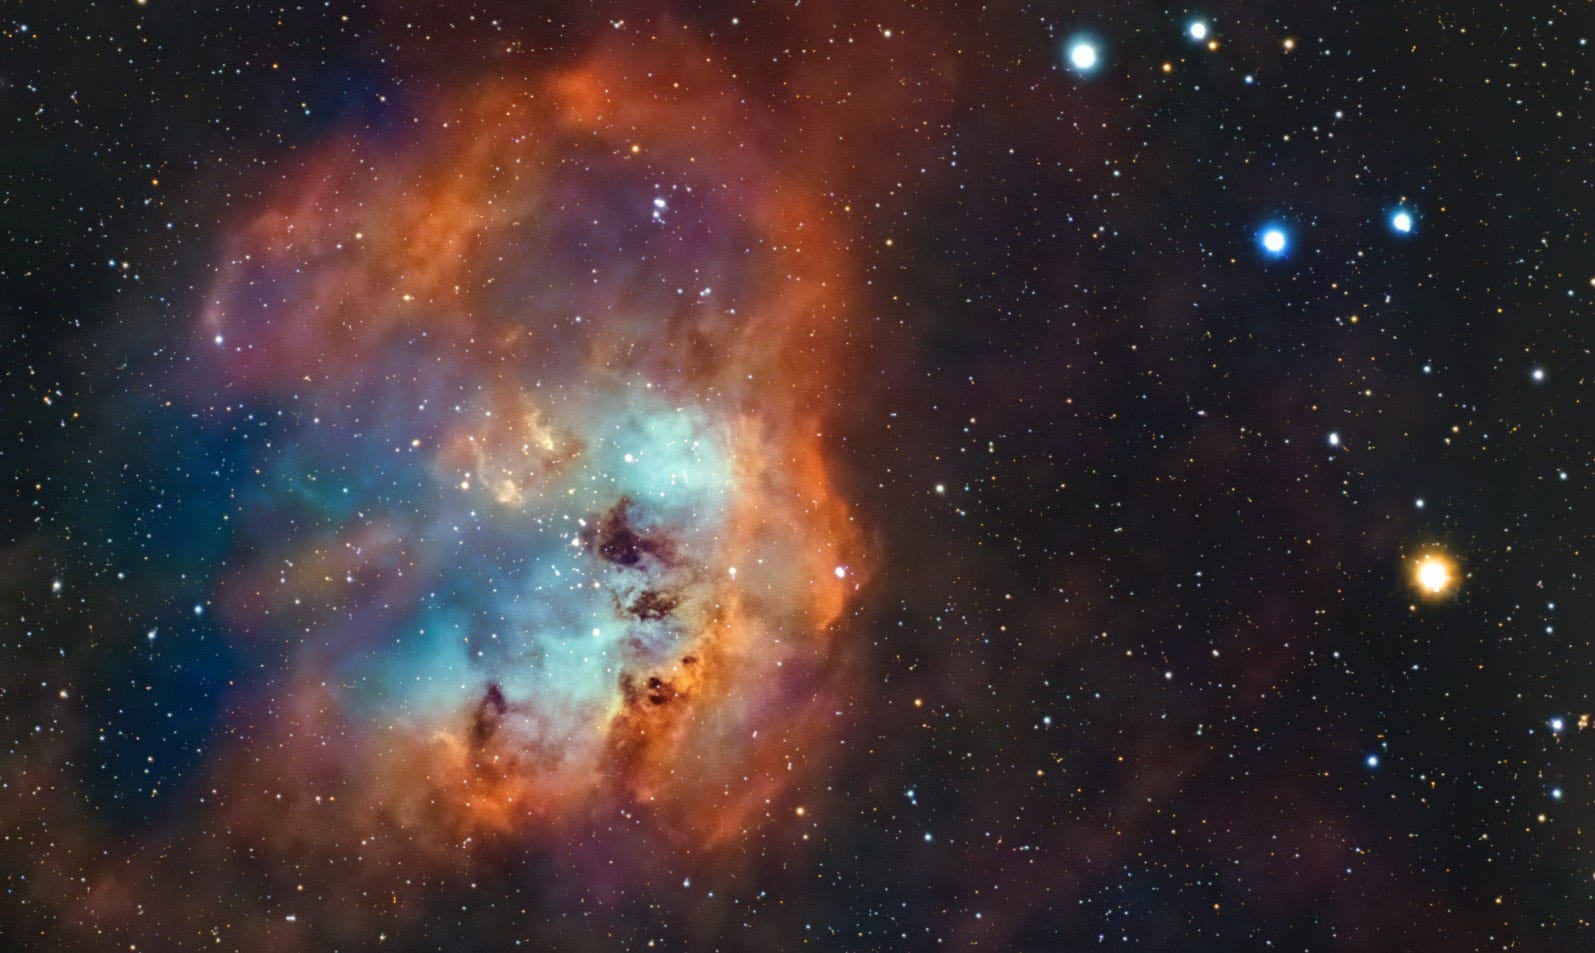
The Tadpoles (IC 410) mark a more evolved environment in which stellar winds from young star clusters have cleared away loose gas. The nebula's name refers to the iconic 10-light-year-long “tadpoles,” two dense structures (the bright yellow tendrils just above the nebula's central blue area) sculpted by the stellar winds of the cluster’s young, hot stars. These structures serve as shields that incubate the next generation of proto-stars within their illuminated “heads.”
The Flaming Star Nebula: A High-Speed Rogue Encounter
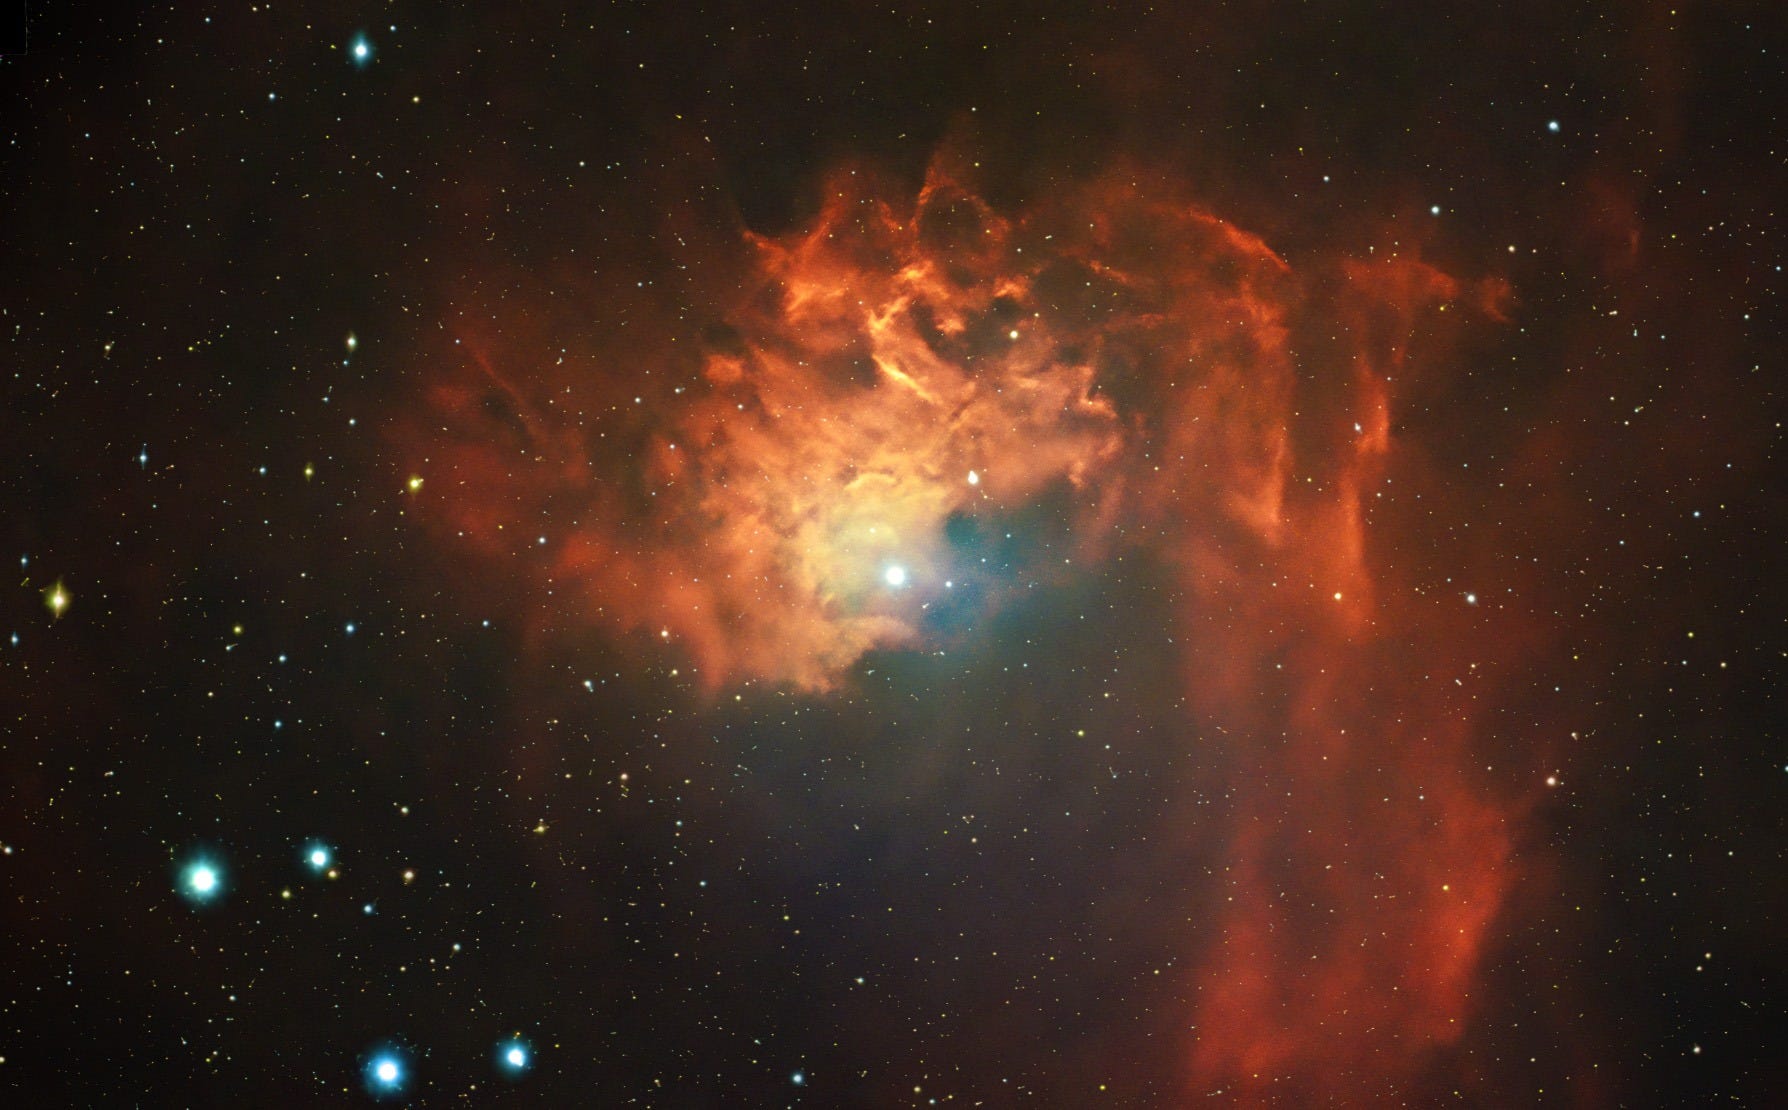
The Flaming Star Nebula is a breathtaking cosmic chance encounter set far in the foreground of the trio. At its heart, the runaway star AE Aurigae, a blue O-type main-sequence star born in the Orion constellation, is violently plowing through a nearby cloud of dust at over 100 miles per second (200 km/s). This incredible velocity creates a massive bow shock ahead of the star, much like water piling up before the bow of a speeding ship, where intense radiation sets the surrounding gas ablaze.
Close inspection reveals that this violent energy has carved the nebula into distinct, illuminated ridges that cast long, deep shadows into the void. Situated just 1,500 light-years from Earth, this rogue star and its glowing wake are a staggering 8,500 light-years closer to us than the distant Spider, Fly, and Tadpoles that share this celestial backdrop.
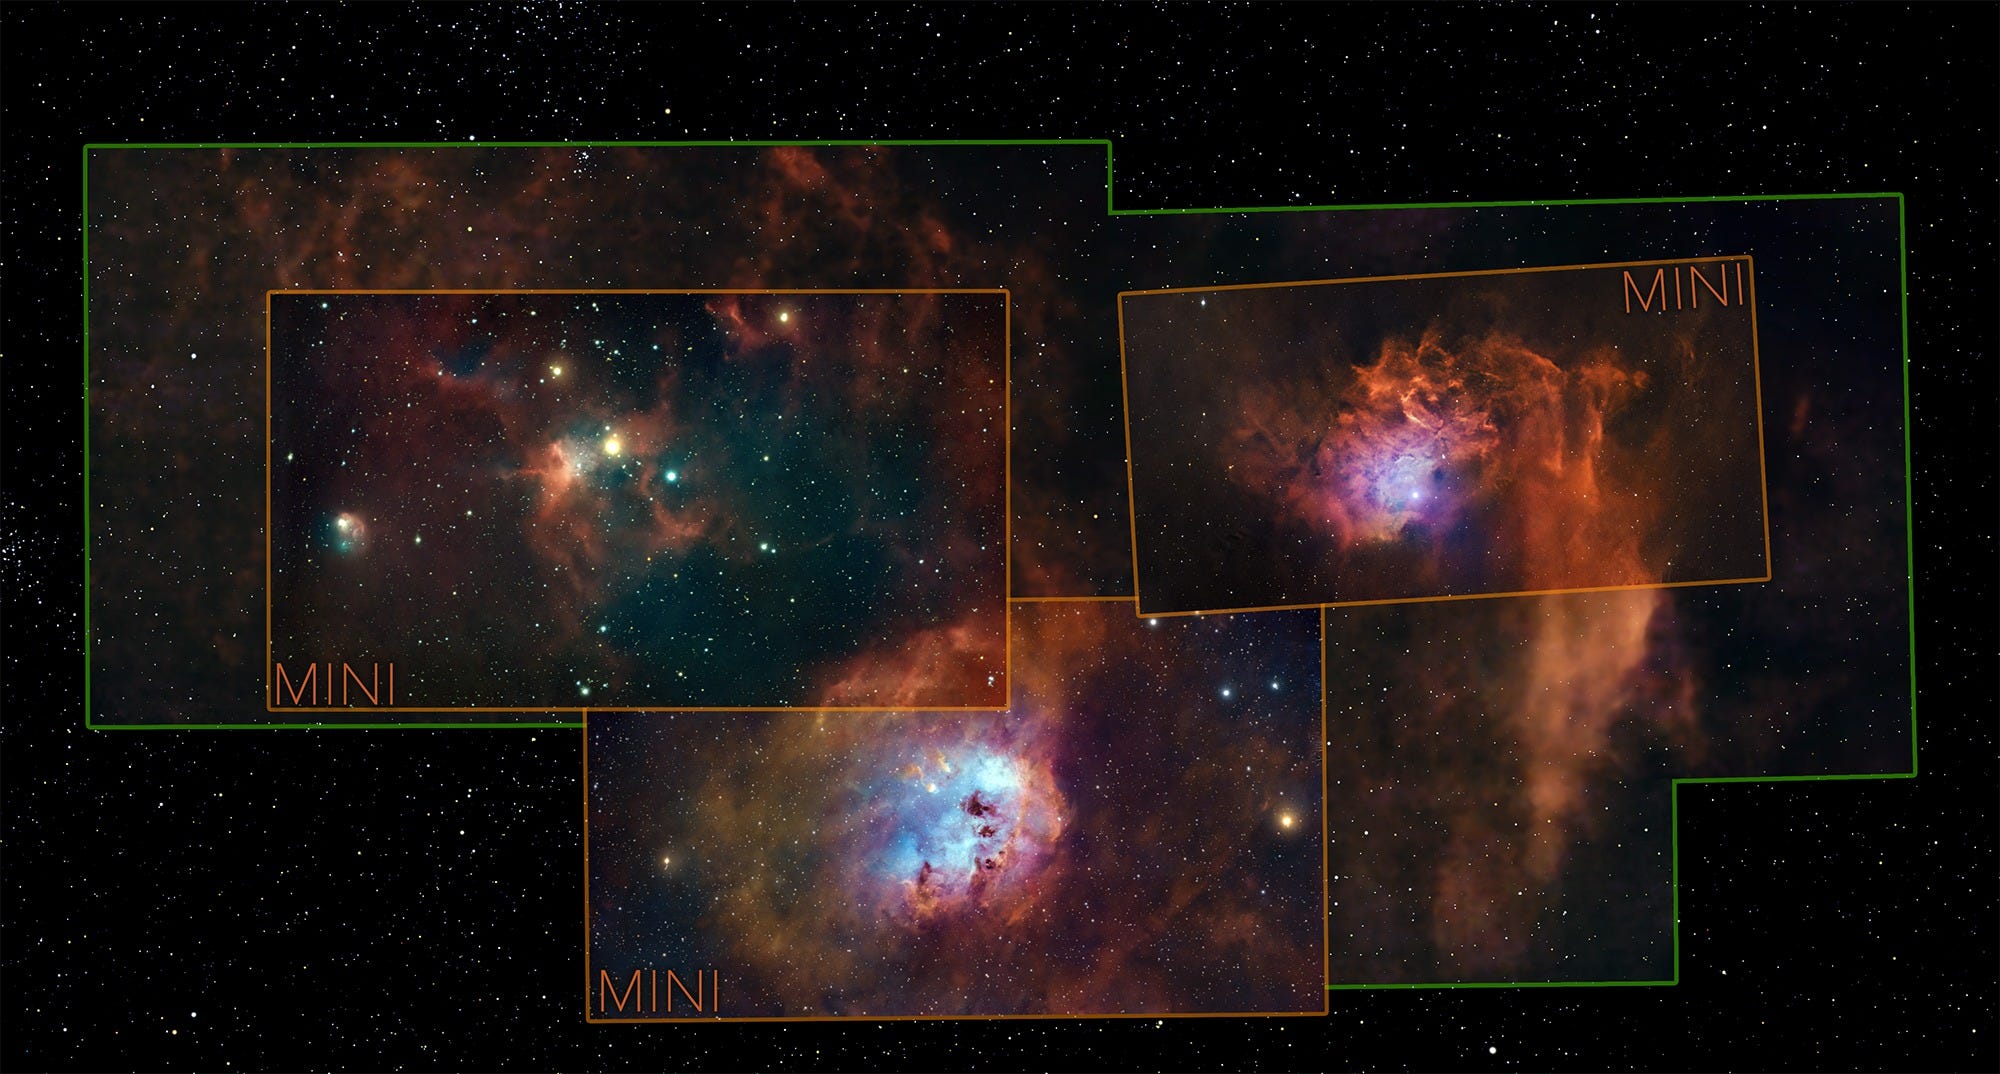
Our mosaic combines Stars (SkySafari) + D3 & mini captures to get the best of each: Accurate, rich stars from edge to edge (star field), the tendrils of faint, distant nebulosity (D3), and the detailed, color-rich core of each nebula (D-mini), all seamlessly integrated into the whole.
Crafting the Mosaic
Start with the Stars!
Seven final images make up my mosaic. Using my “Frankenstein” multi-scope HDR (High Dynamic Range) approach, with a foundational star field to hang it on. Then come three ultra-wide DWARF 3 panels, and finally three detail-rich DWARF mini shots.
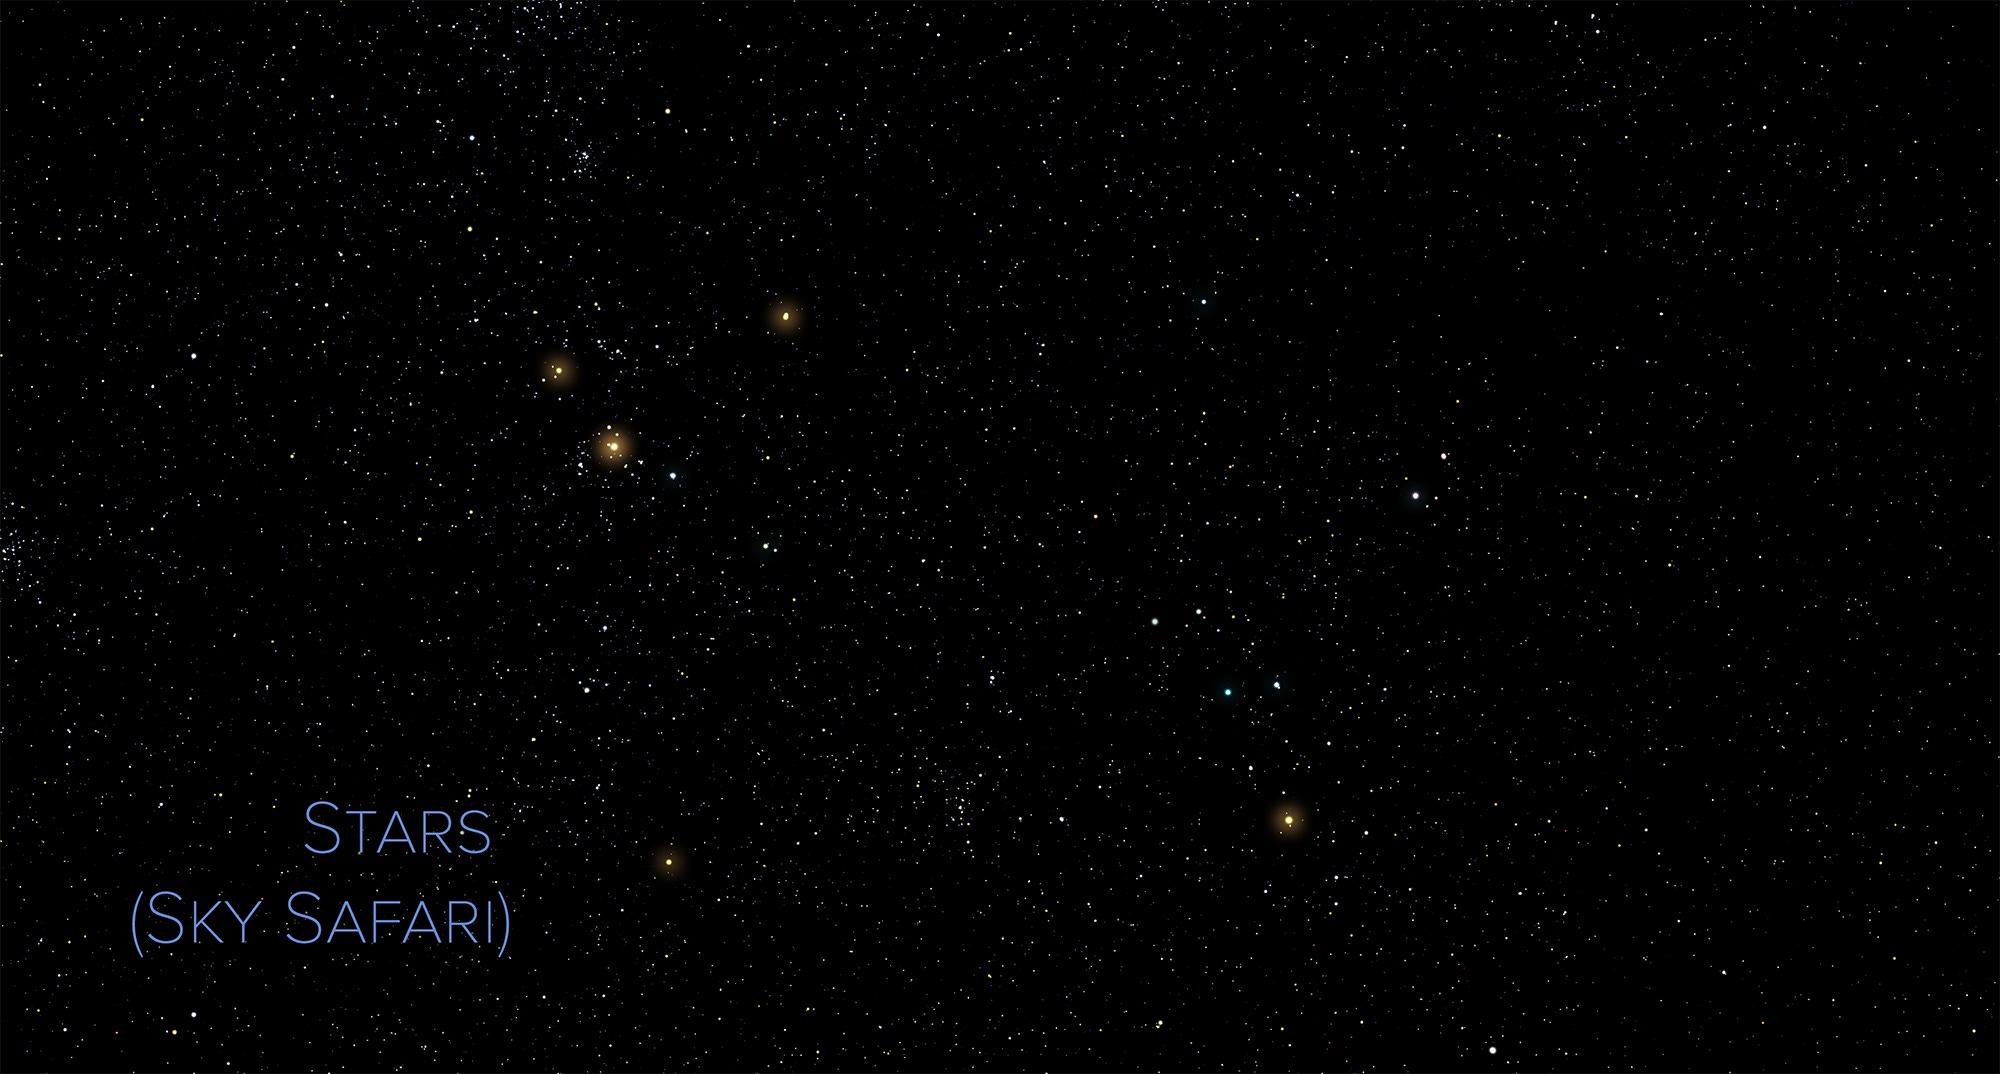
Because blending multiple starless nebula panels can sometimes leave you with missing or distorted star data, I used a unique workaround to generate my foundational star field. I opened SkySafari 7 on my Mac, set it to Equatorial (EQ) mode, and dialed in the exact date and time of my final capture. By turning off all visual layers except for the stars themselves, I exported a pristine, mathematically perfect reference starfield with a bit of extra margin. This gave me a flawless base canvas on which to hang and accurately align all of my D3 and Mini plates.
The DWARF 3 is the Deep Diver
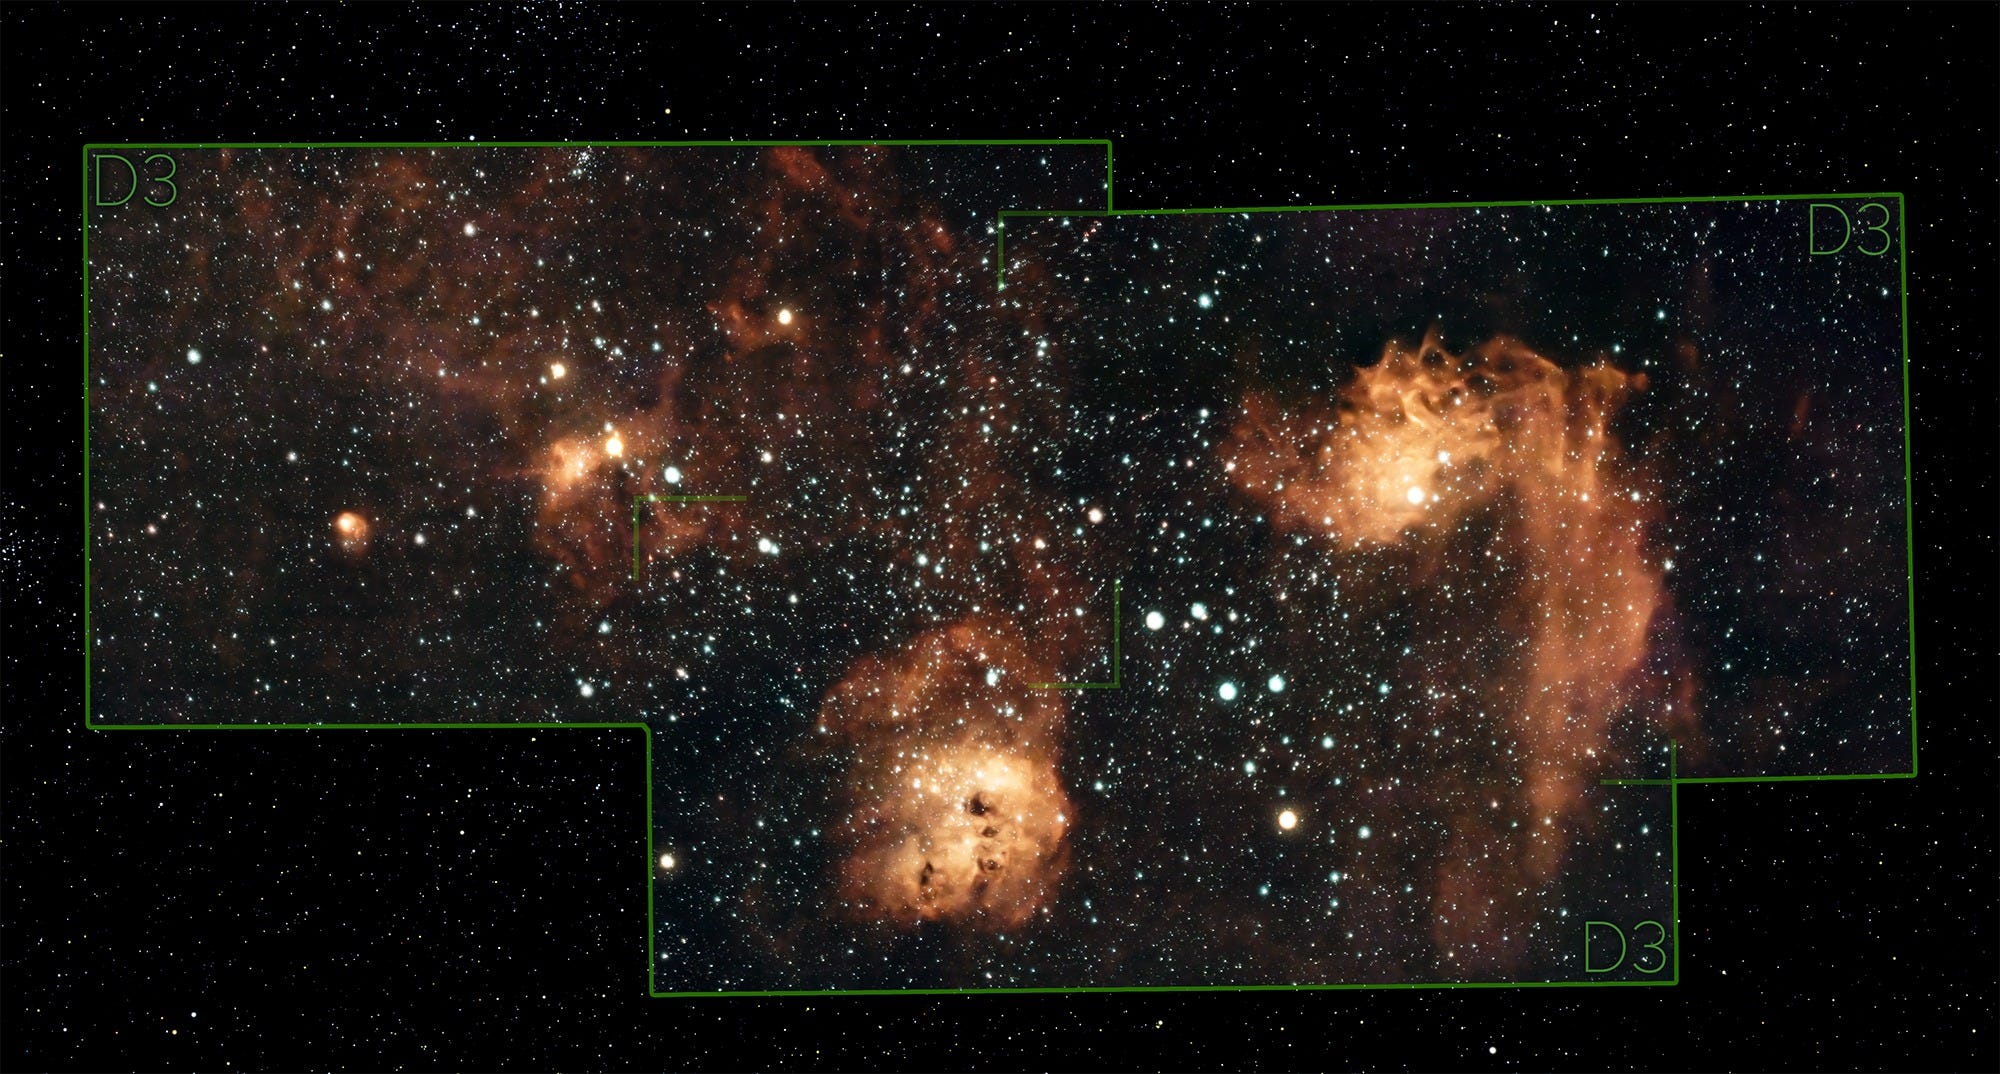
My D3 captures the ultra-wide fields of view in 4K, establishing the shot’s vast cosmic context. It acts as the foundational canvas, bringing out the incredibly faint, sweeping tendrils of background dust that silently connect the entire central Auriga region.
TIP: Since my stars and nebulae are already separated, and since I have my perfect starfield in the top-most layer, I can safely remove bloated and over-exposed stars.
The DWARF mini is the Portrait Artist
From 6 to 10 hours of DuoBand exposures per target, the mini punches in on the high-contrast cores of the targets (the Spider, the Tadpoles, the Flaming Star) to paint in crisp, high-resolution structural details and vibrant colors that are normally lost in a wide-field sweep.
Stitching & Double-Stacking the D3
I stitched the wide-field D3 data together using Photoshop’s Panorama feature, precisely aligning the result to my pristine SkySafari star base. To pull out those incredibly faint tendrils of background gas, I “double-stacked” this D3 data three separate times, applying aggressive Levels adjustments with each pass to boost the signal. This intentionally burnt out the bright cores of the main nebulae, but I didn’t care—I knew my high-resolution D-mini data would be blended opaquely right over those overexposed areas.
Stretching the D-mini Details in Siril
For the DWARF mini data, precision was the priority. After stacking my imaging sessions in Siril, I applied Photometric Color Calibration (SPCC) to ensure a balanced and neutral color foundation. I then employed a multistage stretching workflow, combining Asinh, which excels at preserving color saturation in high signal cores, with Generalized Hyperbolic Stretches (GHS) to maintain precise control over the tonal curves.
This combination allowed me to extract maximum structural detail from the nebulae without clipping the highlights, resulting in rich and accurate color rendition. Finally, I experimented with the VerLux HMS script to further boost color saturation. Where it enhanced the image without introducing noise, I incorporated that stretch into the final workflow.
The Final Dual-Vibrance Blend
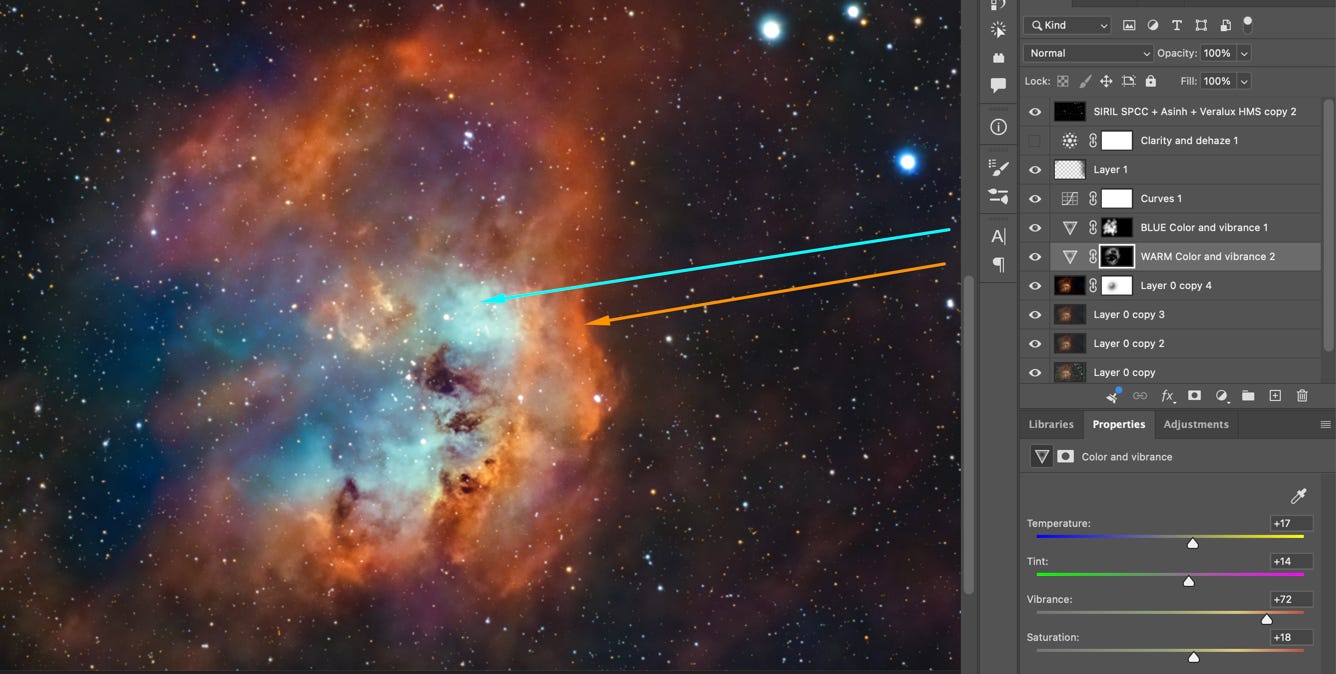
To prepare the DWARF mini plates for the final composite, I used two Color & Vibrance Adjustment Layers in Photoshop to fine-tune the aesthetics. Using Adjustment Masks with a soft brush, I applied the first layer to selectively warm the H-alpha red hues while protecting the cooler areas. I then applied the second layer to target and boost the blue/oxygen tones. This targeted blending creates a seamless color gradient while preserving the color accuracy of my initial Siril processing.
🔭 Scope Corner: Gear Up!
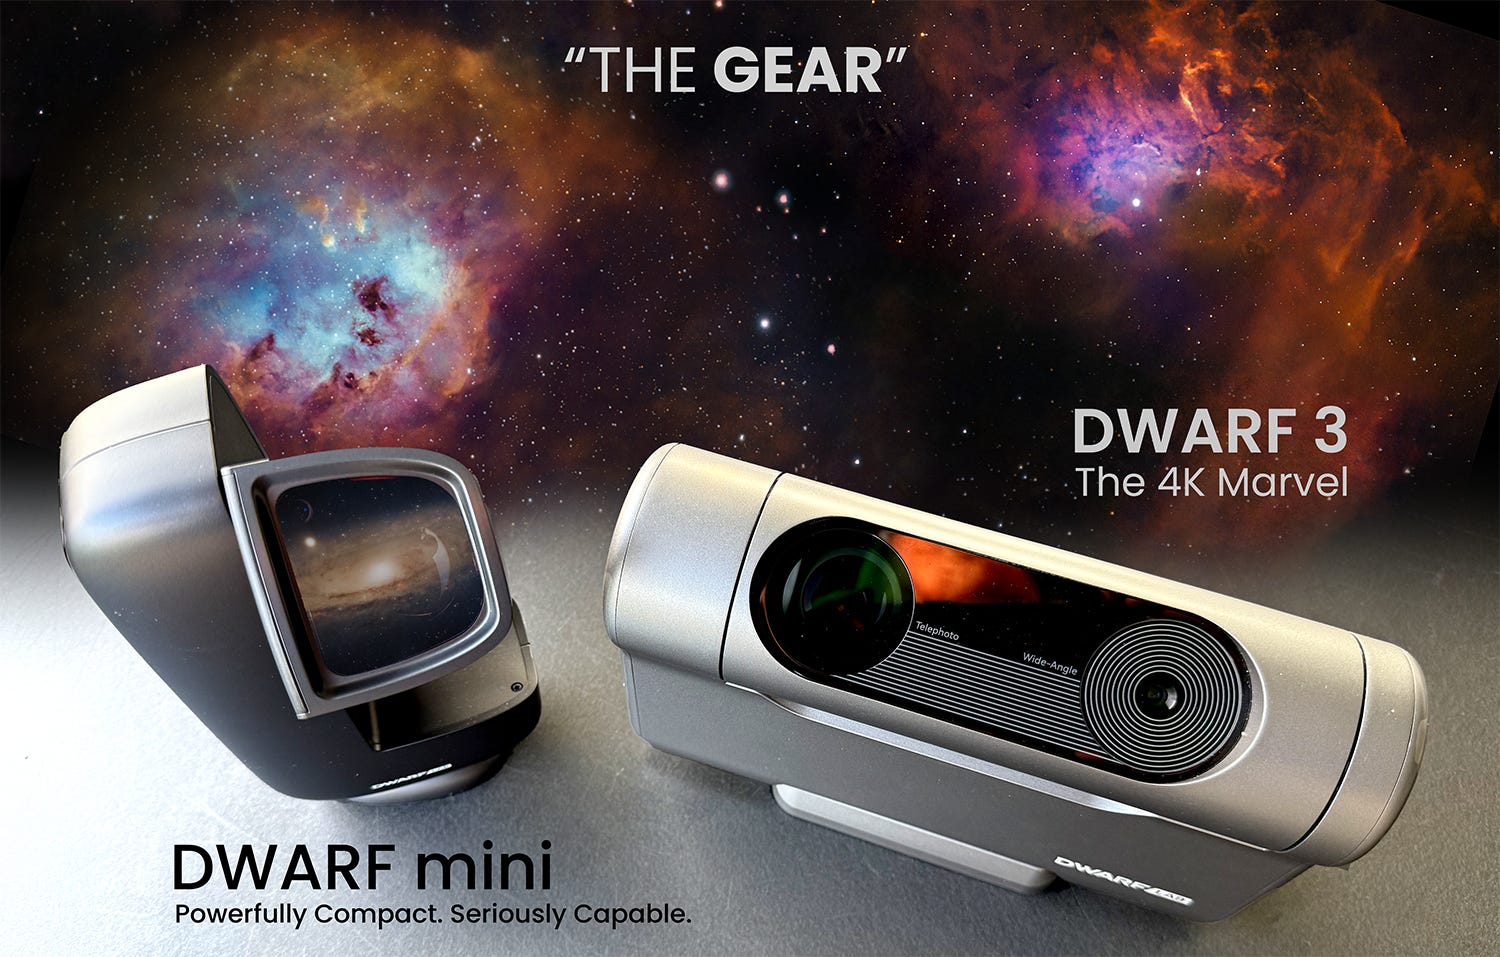
Are you ready to shoot your own epic deep-sky mosaics? Both of these incredible Smart Scopes punch well above their weight class and are the perfect tools for backyard Citizen Science & Mosaic Creation.
Our Affiliate Links:
DWARF 3: The ultimate wide-field 4K deep diver.
DWARF mini: The pocket-sized, quickly deployed powerhouse and precision detail, artist.
CREW section
For my dedicated CREW, I have created a comprehensive, step-by-step PDF manual or an online guide covering everything from capture tips and equatorial alignment to handling the dreaded “starless stitch failure” in software like Photoshop, Lightroom, and Affinity Photo.
If you're already a paying subscriber, just scroll down and download it now. Otherwise, consider subscribing to DwarfVision for one year at 20% off!
Keep reading with a 7-day free trial
Subscribe to DwarfVision to keep reading this post and get 7 days of free access to the full post archives.