


Framing The Shot: Recreating "M13 and the Peak" with RC Astro's filters
A fresh and easy workflow with the newest tools to get a better image, simply!

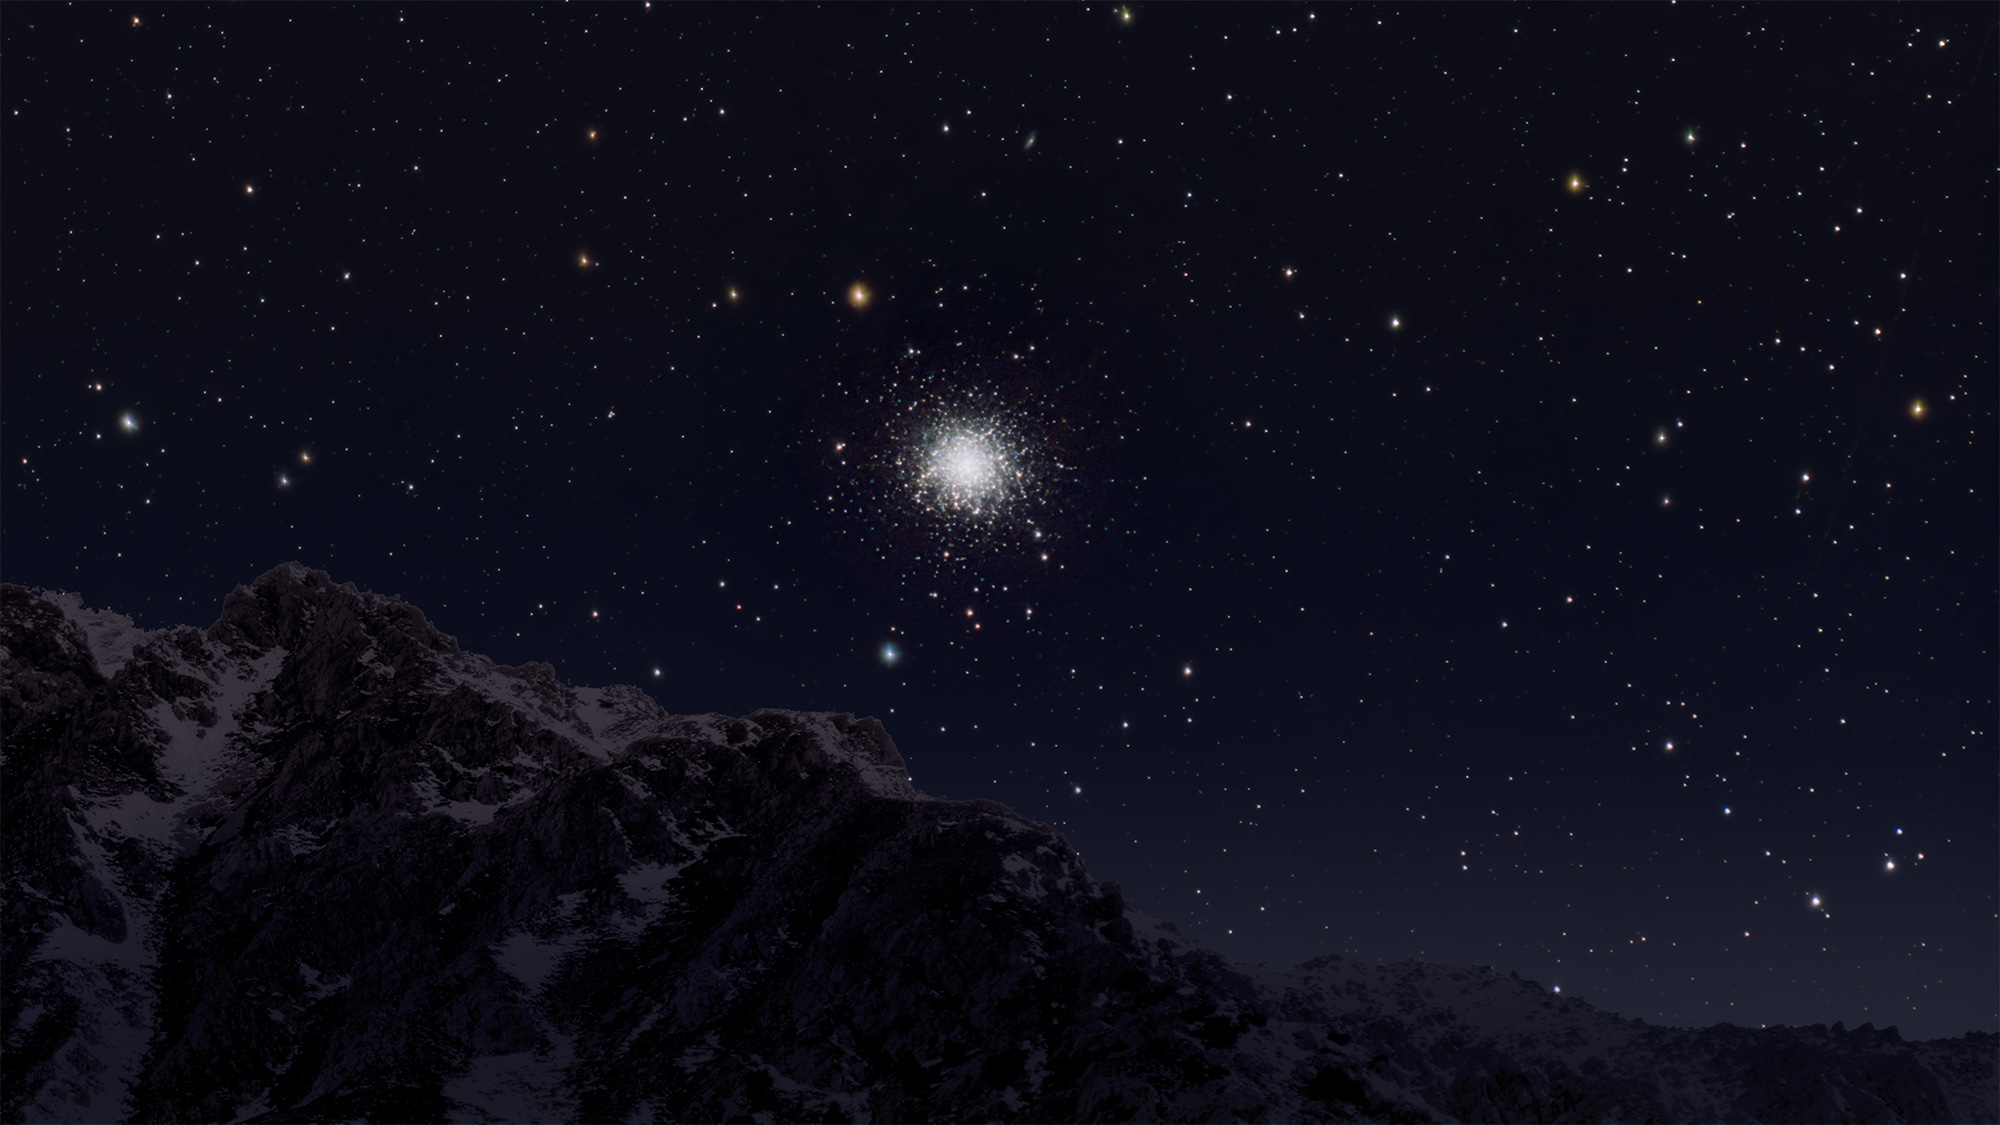
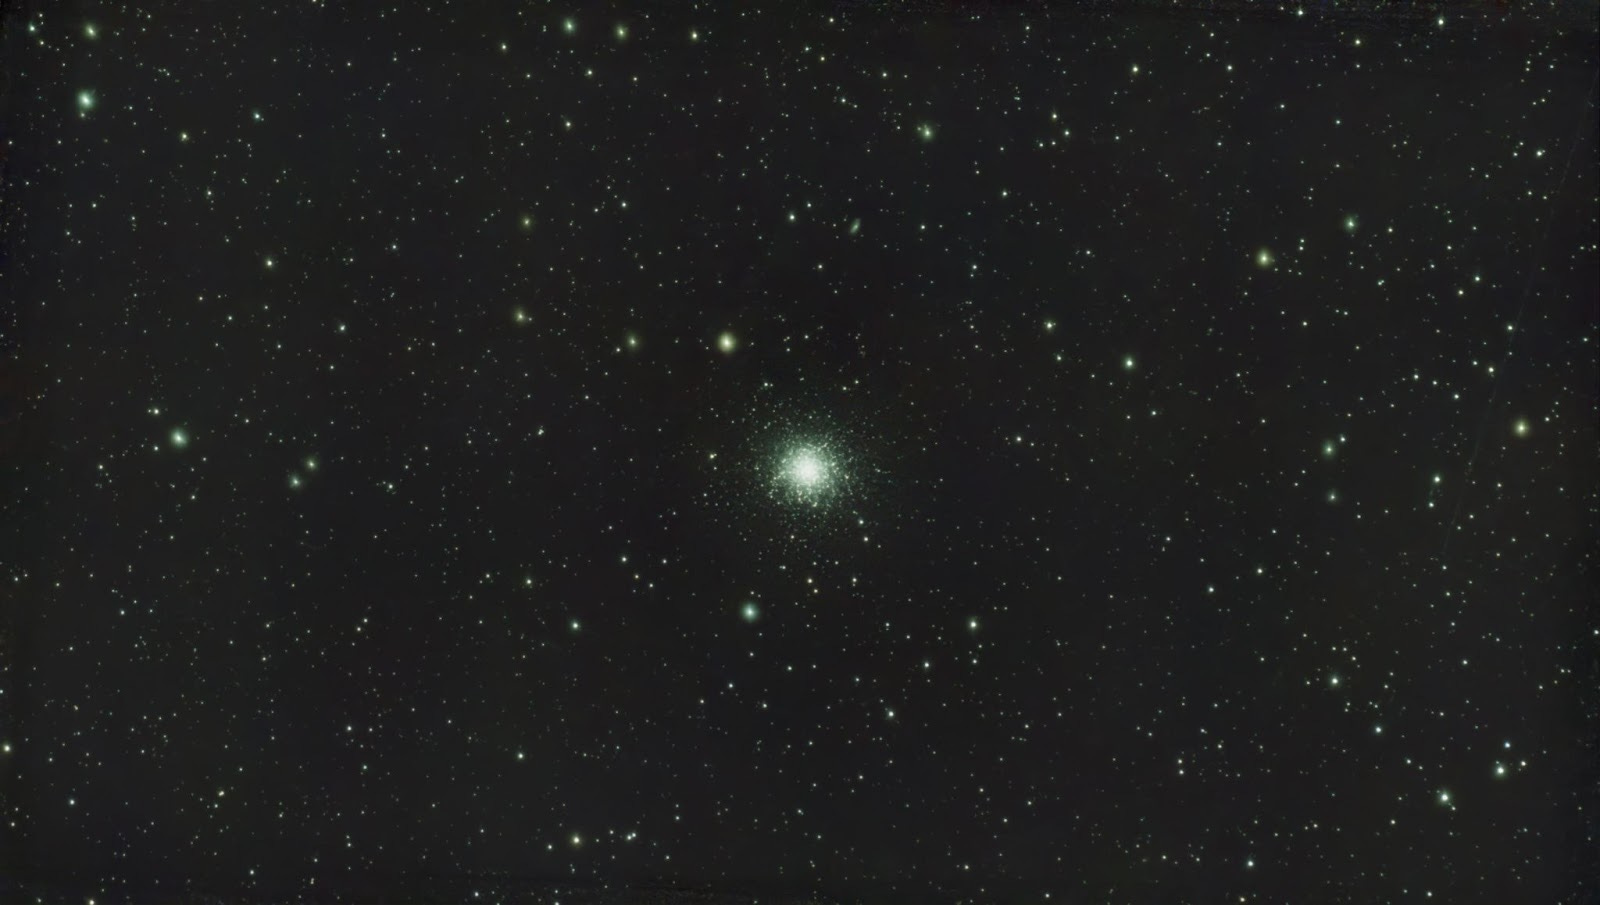
I set out to capture the stunning image of the M13 globular cluster as it set behind Piz (peak) Toissa in Switzerland, a scene that had left a lasting impression on me during my first encounter through binoculars. Although my initial stack with the Dwarf 3 was decent, it fell short of conveying the sheer magic I had experienced in my first run at creating the scene in Photoshop.
While the key elements—the cluster and the majestic mountain—were present in my shot, I knew they needed enhancements to reflect my vision truly. The main challenge was the noise and distortion present in the image. Despite applying noise reduction using my favorite, TopazDeNoiseAI, I noticed that the stars had become distorted.
Determined to elevate my work, I hoped the new processing workflow with RC Astro's "X" Filters would bring me closer to my initial vision. This filter set enabled me to effectively clean up the background sky while preserving the details of the M13 cluster.
Just take a look at the difference! Follow along below for the step-by-step instructions for the new process.


Step One: Clean up M13 with RC Astro's NoiseXTerminator

In NoiseXTerminator, I'm starting with gentle settings: High-Frequency intensity at 75%, High-Frequency color at 70%, Low-Frequency intensity at 80%, and Low-Frequency color at 50%. The scale is 14.2 pixels, and I'm doing two iterations. These settings will hopefully take the edge off. The most crucial thing is I'm constantly checking the before-and-after. I'm zooming in to 100% and toggling the preview on and off. I'm looking to see if I'm losing any of those tiny stars or if the cluster is starting to look fake and smudgy. If things look good, excellent! If not, I'll dial those settings back even more. I could do a second pass with super low settings and a refined mask protecting more of the image to smooth things out if it needs it.
It's all about finding that sweet spot between a clean and natural image. And if NoiseXTerminator is too much, I might just try Photoshop's built-in noise reduction tools – sometimes, simpler is better with these pre-processed images.
Step Two: Clean up the stars and background
Next up, with the cluster masked out, I could then go to town on the background. I hit it with another round of NoiseXTerminator, focusing on smoothing any remaining noise. Then, to make the cluster really pop, I used StarShrink to reduce the size of the stars in the background – which helps the main subject stand out.
But those brighter stars sometimes get those annoying halos, so I used Adobe's Minimize filter, setting it to 2, to gently tighten those up. Finally, I wanted to make sure that the background was perfectly even, so I ran GradientXTerminator. That got rid of any lingering gradients or unevenness. Now, that's what I call a clean background! With all that done, the image is primed and ready for some final touches in Lightroom – maybe a little color tweaking, some sharpening, that sort of thing. The heavy lifting is done, and it's all thanks to RC Astro's easy-to-use tools and a little masking work.
Step Three: Finding the true colors in Lightroom
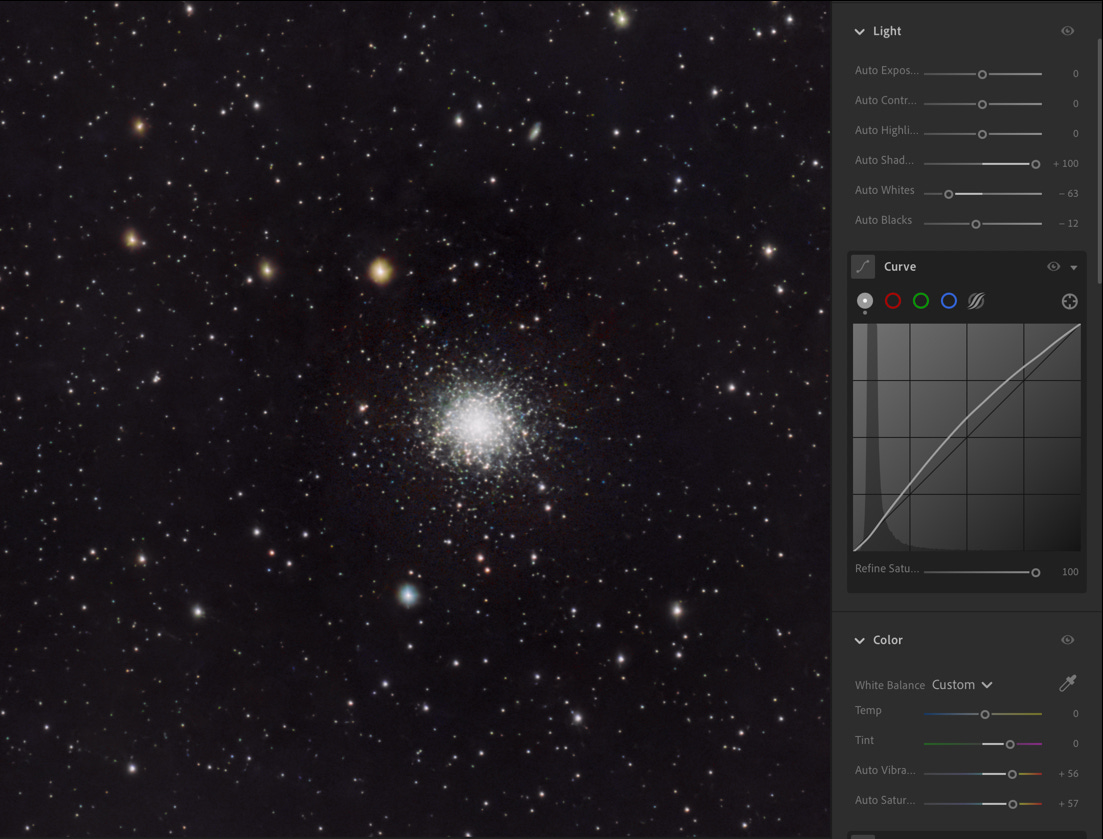
After the Photoshop, getting the noise sorted and the cluster looking sharp, it was time for the final touches in Lightroom. And honestly, it didn't need much! I tweaked the usual suspects – a little bit of "Auto Shadows" to bring out some of the faint detail, and a touch of "Auto Whites" and "Auto Blacks" adjustment to get the contrast right. A custom S curve was added to bring more contrast, too. But here's the key: I cranked up the "Auto Vibrance" and "Auto Saturation" quite a bit to give those star colors some real pop. Those settings are all shown in the "Light" and "Color" areas. You can't see it in the screenshot, but I also bumped up the Clarity and Dehaze sliders just slightly. That helped to get that background to a lovely, flat black without making the cluster look over-processed. I made just a few little moves, but they made a big difference in the final result – it's all about those finishing touches!
Step Four: Getting creative in Photoshop
This is where things got fun and creative. I combined that cleaned-up M13 image after the masking and NoiseXTerminator with the mountain peak I shot with my Dwarf 3 in Photoshop.
As I remembered from my binocular view, I layered the mountain peak image below the M13. But it didn't look quite right at first—too flat. So, I added a gradient to the sky, mimicking that natural darkening as you go up from the horizon. I did the same thing to the mountain peak to make it blend in seamlessly. It's all about making it look believable, you know?
But here's the final touch that makes M13 shine: I made another mask around the cluster, feathered it nicely, and then inverted it. This selected everything except the cluster. Then, I used the Curves tool to dim the stars around M13 subtly. It's a subtle effect, but it makes the cluster pop even more like it's floating in space. All those little details add up to make a big difference. This is way beyond just a snapshot of a globular cluster – it's a bit more artistic!

Thanks for reading. Be sure to catch the original article on DwarfVision D3, including the original M13 and the Peak post!

Such amazing work and creativity.